

Windows Settings is the quickest place to start when you need to know what your computer can do. PC specs are the technical details that identify a computer’s hardware, operating system, and capabilities.
Windows has built-in tools for a quick summary, a deeper inventory, and details about specific parts. You can use them to check app compatibility, troubleshoot a problem, or prepare for an upgrade.
Your Windows version and hardware can affect which software runs well. If a device is acting up, write down its model and other details before you start troubleshooting. A step-by-step hardware troubleshooting guide can help you work through common symptoms.
Start with the quick overview in Settings, then use another built-in tool when you need more detail.
Key Takeaways
- Settings shows core processor, memory, and Windows details.
- System Information gives you a broader hardware inventory.
- Task Manager shows live use, not just installed parts.
- Device Manager lists recognized devices and driver details.
- DirectX Diagnostic Tool focuses on graphics and display fields.
How Do I Find My Computer Hardware Details in Windows?
Go to Settings > System > About for the fastest view of core specifications. Device specifications lists the CPU, installed RAM, and system type, while Windows specifications lists your edition and version.
This page gives you a quick overview, not every hardware field. To answer “how do i find my computer hardware details in Windows 11” or “how do i find my computer hardware details in Windows 10,” start with the same route.
Use Settings for core specs; choose a deeper tool when you need firmware, motherboard, or component details.
Find the basics in Settings on Windows 10 and 11
Open the page with these three steps:
- Open Start and select Settings.
- Select System.
- Select About.
Look under Device specifications for the processor name and installed memory. System type tells you whether Windows uses a 32-bit or 64-bit system. Windows specifications shows the Windows edition and version.
If you are searching for how to see PC specs in Windows 11, this About page is the right first stop. The Windows 10 Settings labels follow the same path.
Choose the right built-in tool for the detail you need
Use the quick overview when you need only a few core fields. Choose a deeper tool when you need hardware inventory, live activity, or graphics information.
| Method | How to open it | Best for |
|---|---|---|
| Settings > System > About | Start > Settings > System > About | CPU, RAM, system type, and Windows version |
| System Information | Search for msinfo32 or press Windows key + R and enter msinfo32 | BIOS, motherboard, and component inventory |
| Task Manager | Ctrl + Shift + Esc, then Performance | Live CPU, memory, GPU, disk, and network activity |
| DirectX Diagnostic Tool | Windows key + R, then dxdiag | Graphics, display, and driver details |
Settings is enough when you only need a processor or memory field. For firmware, motherboard, or broader component details, move on to System Information.
Where Can You See a Full Hardware Inventory?
Open System Information with the Run dialog by pressing Windows key + R, typing msinfo32, and pressing Enter. Its System Summary gathers key computer details, including model, processor, installed memory, BIOS or UEFI information, and virtualization support.
Search for msinfo32 from Start if you prefer not to use the Run dialog. This tool provides a broad inventory, so the results can look dense at first.
Read the System Summary and component categories
Select System Summary in the left pane for the main system information. Find the system model, processor, and memory in the list on the right. The BIOS or UEFI field shows the system firmware details.
The motherboard name may appear under BaseBoard fields. Windows can report different board details by computer model, so search the page for “BaseBoard” if that field is not easy to spot.
To find graphics information, expand Components and select Display. Use the search box near the bottom of the window to find a field by name. Searching is faster than scanning every line in a long inventory.
This is useful when a support worker asks for your motherboard or BIOS details. It also helps when the computer model matters more than its brand name.
Save or share the details you need
System Information can export selected details to a text file. Follow these steps to make a report:
- Open System Information.
- Select System Summary or a component in the left pane.
- Choose File > Export.
- Select a folder and enter a filename.
- Open the saved text file to review its contents.
Select System Summary to export the broad summary. Select Display first to narrow the report to graphics information.
Keep the report private if it includes identifying device details. For live performance readings, use Task Manager rather than this static inventory.
What Can Task Manager Tell You in Real Time?
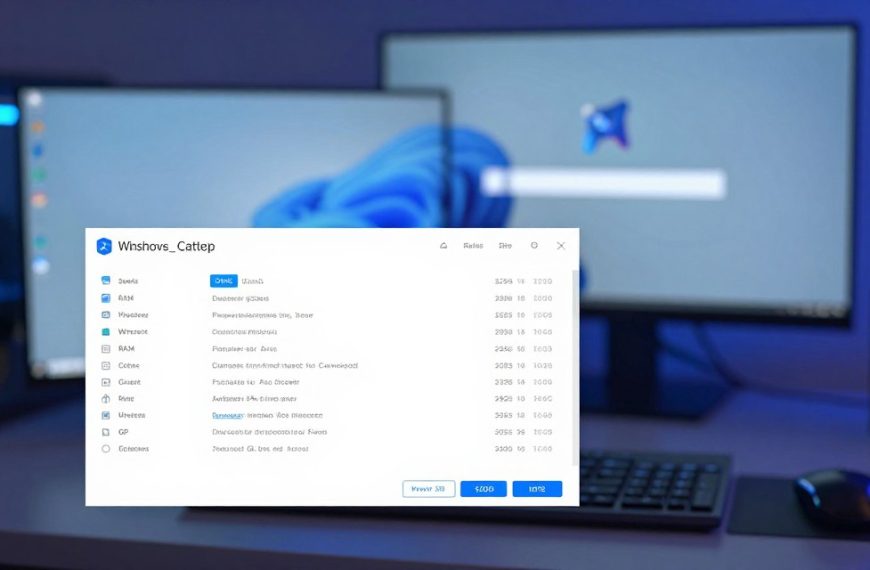
Task Manager helps answer what your computer is doing right now, rather than only listing its installed parts. Its Performance page shows live CPU, memory, GPU, disk, and network activity.
Open Task Manager with Ctrl + Shift + Esc, then select Performance. Choose a component on the left to see its current activity and related details.
Open the Performance page and select a component
Select CPU to view processor activity, or Memory to see RAM use. The Memory panel shows installed RAM as well as how much memory is in use.
Select GPU to see graphics activity. The panel can also show the GPU model and dedicated memory. Disk panels show drive activity, while the network panel tracks current connection use.
These graphs change as you use the computer. They show activity over time, not a permanent rating of the hardware.
Use live readings to spot a possible bottleneck
Compare memory use while your usual apps are open. If the system is busy during a normal task, close an app and check whether the reading changes.
You can also watch GPU activity during a game. A high reading at one moment does not prove the GPU is faulty. Check whether the same issue appears during the task that matters to you.
Task Manager can help you describe a slowdown with real readings instead of guesswork. For help tracing crashes, overheating, or other hardware symptoms, use this hardware troubleshooting process.
When you need a device-specific listing or driver status, move to Device Manager.
How Do You Check Devices and Drivers?
Use Device Manager when you need to identify a recognized component or check its driver information. Device Manager groups installed hardware by category and provides details about each device.
It is a device-and-driver listing, not a full performance report or a substitute for the maker’s complete component specifications. Open it by searching for Device Manager from Start, or right-click the Start button and select Device Manager.
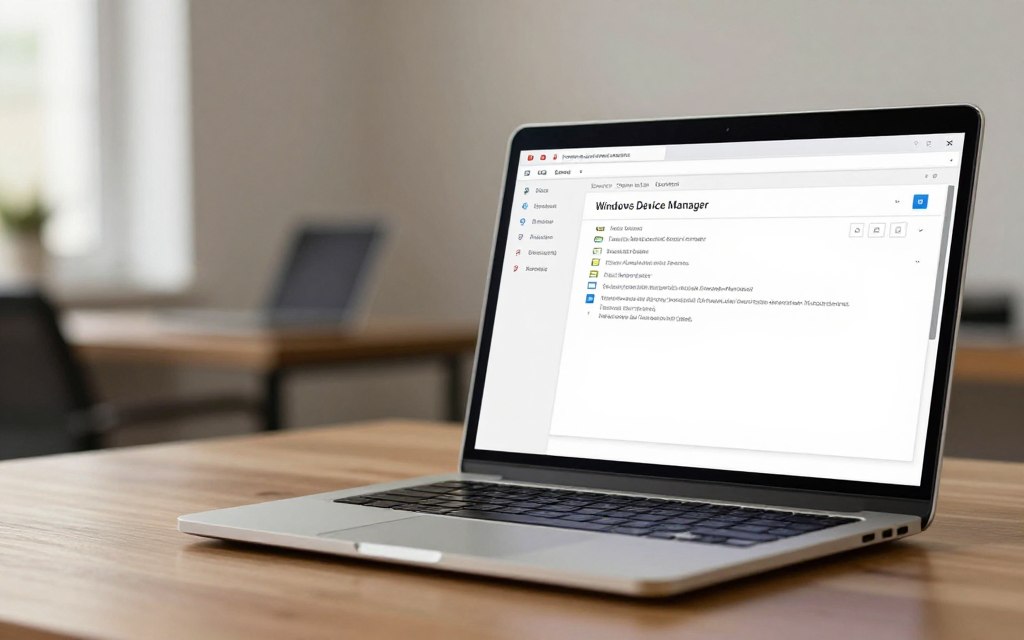
Expand a category to see the devices Windows recognizes. Useful categories include Display adapters, Processors, Monitors, and Network adapters.
Double-click a device to open its properties. The General tab shows its status, while the Driver tab provides driver information. This can help you identify a device when a support request asks for its name or driver version.
A device’s name may be broad or shortened, so do not treat it as a full model specification. Device Manager also does not show whether the computer is under heavy load.
If you need graphics memory, display information, or DirectX details, open dxdiag instead.
How Do You Find Graphics Card Details with DirectX?
Press Windows key + R, enter dxdiag, and press Enter to open the DirectX Diagnostic Tool. Its Display tab lists the graphics-device name, graphics memory, driver version, and display details.
You can also search for dxdiag from Start. If Windows asks whether to check for digitally signed drivers, choose an option to continue to the diagnostic window.
Open the DirectX Diagnostic Tool
The System tab shows basic system information, including processor, memory, BIOS or UEFI, and Windows details. Use it as a quick reference when a game or creative app asks for basic system fields.
The tool focuses on graphics and DirectX details. It does not replace a broad hardware inventory or the live GPU graphs in Task Manager.
Read the Display tab for graphics information
Select Display to see the graphics-device name, graphics memory, driver version, and screen details. This can help you compare a graphics card with the requirements for a game or video app.
A computer with more than one display adapter may show more than one Display tab. Check the tab for the adapter used by the app or screen you are reviewing.
When you need to share the results, select Save All Information and save the report. That text file can help someone review the same graphics fields without asking you to copy each line.
The DirectX Diagnostic Tool is useful for a focused graphics check. For a text-based system report, PowerShell and Command Prompt offer another route.
Can Command-Line Tools Show More System Information?
PowerShell and Command Prompt can produce searchable text output without opening a graphical inventory. Use Get-ComputerInfo for system and Windows information, or systeminfo for hardware and operating-system details.
Text output is easy to copy, search, and compare. Keep personal details private, and avoid posting identifying computer information in a public forum.
Run Get-ComputerInfo in PowerShell
Search for PowerShell from Start and open it. Enter Get-ComputerInfo to display system and Windows information in the window.
The output can be long, so filter it when you need a specific group of fields. For BIOS-related information, enter Get-ComputerInfo -Property “bios*”.
The asterisk matches property names that begin with “bios.” This can make a long report easier to scan when you only need firmware details.
Read or save systeminfo output in Command Prompt
Search for Command Prompt from Start, then enter systeminfo. The output includes hardware and operating-system details, such as system model, processor, memory, BIOS version, and network configuration.
To see the command’s options, enter systeminfo /?. Use the help text to check available command choices before adding one.
Command output can help you compare fields from two computers or share a small set of details with support. Remove identifying information before sharing any text publicly.
Once you have the fields you need, compare them with a real app, game, or upgrade requirement.
Which Specs Matter for Games, Apps, and Upgrades?
Compare your PC’s graphics and memory details with a game’s listed requirements before installing or upgrading. The exact model matters: check the software maker’s minimum and recommended requirements instead of judging by one component name.
The CPU handles processing, while RAM gives active apps and files short-term working space. A GPU handles graphics tasks, and storage holds Windows, apps, games, and files.
Match the exact CPU, RAM, GPU, and storage fields with the app’s stated requirements, not just a familiar brand name.
Compare the CPU and RAM with the stated requirements
Record the processor name and model, then compare it with the app’s CPU requirement. A similar brand name alone does not show that two processor models have the same capabilities.
RAM is working memory for active apps and files. Compare the installed capacity with the app’s stated memory requirement. Task Manager can help you see whether your usual apps already use much of that memory.
Check the GPU and graphics memory for visual workloads
Compare the graphics-device name and dedicated memory, when shown, with the app’s graphics and video-memory requirement. Integrated graphics use system RAM, while dedicated graphics cards have their own video memory.
Check the maker’s requirements for the exact game or creative app. If a computer has more than one graphics adapter, use the details for the adapter the app will use.
Match storage type and capacity to the workload
An SSD uses flash memory, while an HDD uses spinning disks. Check the drive type and available space, then compare them with the app’s required storage space.
Available room matters because a drive can have less free space than its total capacity. A game may fit on a large drive but not on a nearly full one.
| Component | Detail to record | Where to check | What to compare |
|---|---|---|---|
| CPU | Processor name and model | Settings > About or System Information | The app or game’s CPU requirement |
| RAM | Installed capacity and current use | Settings > About or Task Manager > Memory | The app’s stated memory requirement |
| GPU | Graphics-device name and dedicated memory, when shown | Task Manager > GPU or dxdiag > Display | The app’s graphics and video-memory requirement |
| Storage | Drive type and available space | Task Manager > Disk or Settings > System > Storage | The app’s required space and available drive room |
For a graphics upgrade, check how the card fits with your current parts before buying. This budget gaming PC upgrade guide covers compatibility and other parts that can affect a build.
You can also look up the original configuration for your computer model. Compare that listing with local results, since later upgrades may have changed the installed parts.
Can You Check PC Specs Online or in Windows 7?
A local check shows the hardware installed now, while an online lookup usually shows a computer’s original model configuration. Compare both when you need an accurate picture, because a later RAM, storage, or graphics upgrade may not appear online.
Find the manufacturer and exact model in System Information or on the device label. Use the manufacturer’s support or product-information page to look up the original configuration.
An online model lookup may show the factory setup, not the hardware currently installed after upgrades.
Check Your PC Specs Online
Use the manufacturer’s official support page for a model lookup. Enter a serial number only on that official site when needed, and do not post it publicly.
Follow these steps to compare the online listing with your current computer:
- Find the manufacturer and model.
- Visit the manufacturer’s support page.
- Enter the model or serial only on the official support site when needed.
- Compare the original configuration with locally reported details.
Find Computer Specs in Windows 7
Windows 7 includes System Properties, System Information, and Device Manager for checking computer details. Right-click Computer and choose Properties to see basic processor and memory information.
Search for msinfo32 from Start to open System Information. Device Manager lists hardware by category, so you can inspect recognized devices.
Windows 7 support ended on January 14, 2020. That date matters if you still use the system for software or online tasks that need current support.
Find the Processor in Windows 7
To answer “how do i find my computer hardware details in Windows 7,” right-click Computer and choose Properties for the basic processor field. System Information offers more detail about the computer.
For “how do i find out what processor I have in Windows 7?” use Computer > Properties or open System Information with msinfo32.
Choose the local Windows tool that answers your question, then keep a private record of useful fields.
Conclusion
A useful check starts with the question you need answered, such as software compatibility or troubleshooting. Use a local Windows tool to see the configuration currently installed on your computer.
Then compare the exact model or component details with the requirements for the software or upgrade you are considering. A model name alone may not show whether a later change affected memory, storage, or graphics.
Save the relevant details in a private note or report before contacting support or making an upgrade decision. Record the fields that matter, then check the requirement that prompted your lookup.

 By
By
 By
By