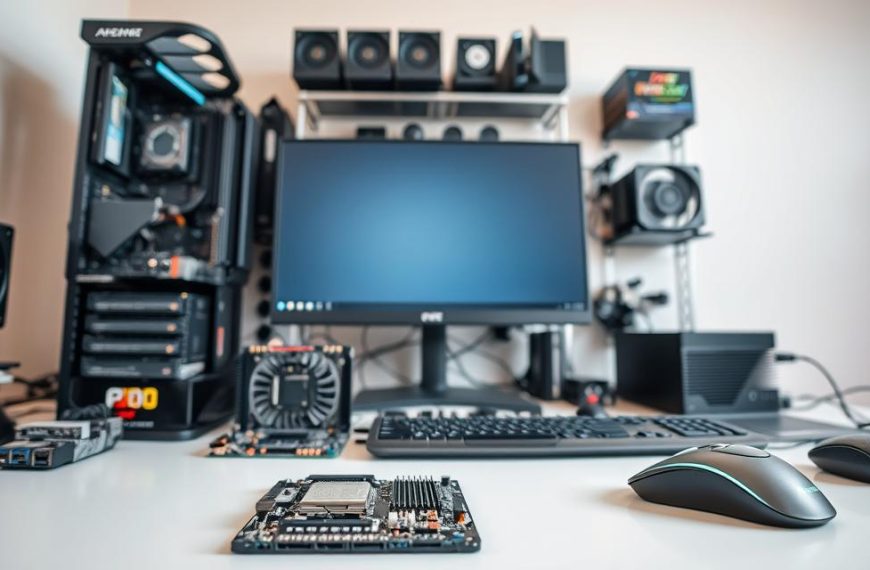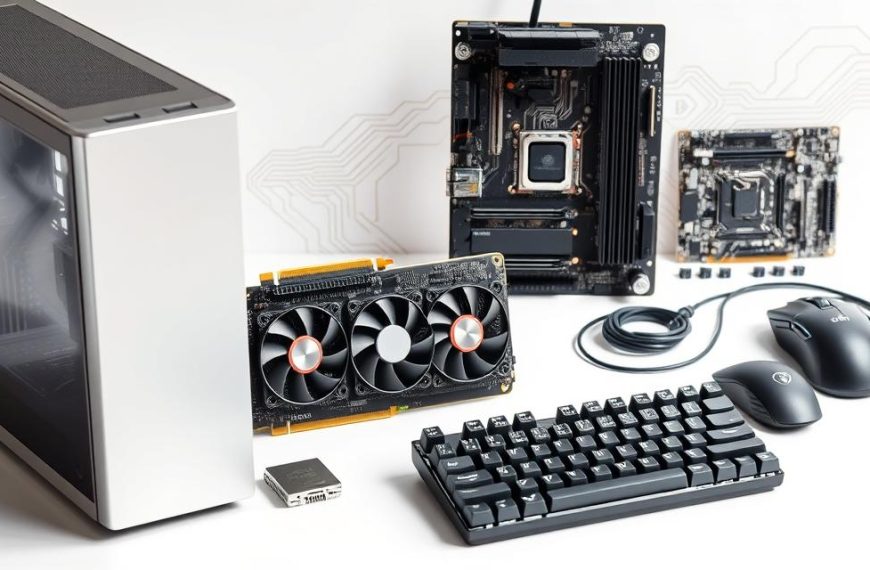
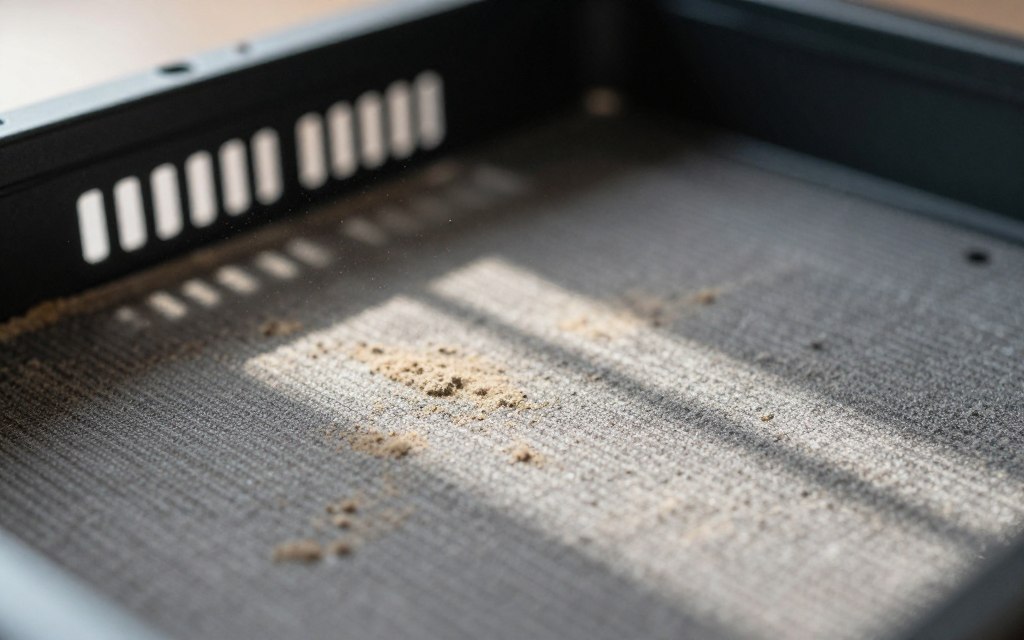

A computer that gathers dust around its vents can make cleaning your computer hardware feel urgent. Dust and debris can restrict airflow, contribute to overheating, and affect performance. A dust filter is a removable mesh panel that catches dust before it enters a computer case.
Careful physical cleaning can help maintain a computer’s lifespan, but it cannot fix every performance problem. This guide offers practical steps for a desktop, laptop, keyboard, mouse, and monitor, plus ways to review software and storage.
Key Takeaways
- Shut down and unplug a computer before cleaning.
- Use gentle air bursts and keep fans still while cleaning.
- Let a rinsed dust filter dry fully before replacing it.
- Keep laptop vents clear without routine disassembly.
- Use separate, gentle methods for keyboards and monitors.
- Review software and storage if performance remains slow.
Set up the cleaning area and gather suitable supplies before touching the computer.
Prepare Your Workspace and Cleaning Tools
The safest cleaning session starts with a powered-off, unplugged computer and a clear work surface. A ventilated area helps keep loose dust away from your face and other items.
Shut down the computer and unplug it from the wall before cleaning. If dust is heavy, wear a dust mask. Ground yourself before handling internal parts, since static electricity can damage delicate components.
Power off and unplug before cleaning. Ground yourself before touching internal parts.
Use an anti-static wrist strap if you have one, following its instructions. Keep food and drinks away from the work area, and set screws or removable panels somewhere they cannot roll away.
Choose tools for the surface and the type of dirt. Never spray liquid directly onto a component. Put it sparingly on a cloth or swab instead.
| Tool | Best use | Key limitation |
|---|---|---|
| Compressed air | Loose dust | Use short bursts; keep the nozzle at least 3 centimeters away |
| Microfiber cloth | Exterior surfaces | Do not use a dirty or rough cloth |
| Isopropyl alcohol | Stubborn residue | Use at least 90 percent strength, sparingly |
| Cotton swabs | Narrow areas | Keep damp, not wet |
| Soft-bristled brush | Loose debris | Brush gently to avoid forceful contact |
A regular household vacuum does not belong inside a computer. It can generate static electricity, so use a tool made for electronics instead.
With the workspace ready and tools matched to their use, begin with the surfaces that are easiest to reach.
Clean the Case Exterior and Dust Filters
A dusty intake filter is often easier to clean than the components it protects. Start with the outside, where a cloth can lift dust without pushing it into the case.
Remove a dust filter only if it is designed to come out, and let it dry fully before reinstalling it. A damp filter can bring moisture into the case, making this a preventable mistake.
Gently Wipe the Case and Clear Vents and Ports
Wipe the case with a clean microfiber cloth, using light strokes. For stubborn dirt, slightly dampen the cloth, not the computer. Keep moisture away from openings and seams.
Brush dust away from vents and ports rather than pushing it inside. Avoid poking objects into narrow openings. If dust clings to a port, use a soft brush with a gentle touch.
Remove and Clean Accessible Dust Filters
Check how each filter attaches before removing it. Some slide out, while others sit behind a panel. Follow the case maker’s directions if the filter resists or its release is unclear.
Use a soft brush or gentle air to remove loose dust. A filter can be rinsed with water when its design allows, but do not assume every filter is washable.
Shake off extra water and leave the filter to dry completely. Do not use it while damp. Put it back only when no moisture remains, then check that it sits flat and covers the intake.
Once the outside and filters are clean and dry, move on to dust inside a desktop case.
How to Clean Your Computer Hardware Inside a Desktop PC
A desktop case can be cleaned internally without removing every component. Work slowly, use gentle bursts of compressed air, and avoid forceful contact with hardware.
Hold each fan blade still while directing air at it, and keep the nozzle at least 3 centimeters from the surface. This helps prevent a fan from spinning too fast during cleaning.
Use this order to keep loosened dust from settling on areas you have already cleared:
- Secure the case on a stable surface and remove its side panel.
- Hold fan blades still and clear the fans, heatsinks, and radiator.
- Dust the motherboard, RAM, and graphics card with short air bursts.
- Clear the power supply’s exterior vents and accessible drive surfaces.
- Check cables, replace panels, and make sure airflow paths remain open.
Clean Fans, Heatsinks, and Radiators
Keep the computer unplugged and open only its case panels. Hold each fan by its frame or blade, then aim short air bursts across the blades and hub.
Do not press the nozzle against a fan or heatsink. Aim air through heatsink fins to carry dust outward. For a radiator, clear dust along its fins without bending them.
Dust can block airflow and make cooling less effective. Clean fans and clear air paths can help limit heat buildup, though they cannot correct every cooling fault.
Dust the Motherboard, RAM, and Graphics Card
Use short bursts across the motherboard, keeping the nozzle at least 3 centimeters away. Do not scrape, press, or tug on small parts. Let loosened dust fall away from the board.
For RAM, direct air around the modules and slots without pulling the modules out. Treat the graphics card the same way: clear its exposed surfaces and fans gently, and avoid contact with its circuit parts.
If dust remains in a tight spot, use a clean, soft-bristled brush. Do not force a brush between components or into a slot. Gentle work matters more than clearing every speck.
Clean the Power Supply Vents and Drives
Clear dust from the power supply’s exterior vents with short air bursts. Keep the power supply casing closed. Its internal parts can hold a dangerous charge, even when unplugged.
Never open the power supply to clean it. Wipe accessible drive surfaces gently, and keep air and liquid away from open connectors. If a drive has a mechanical fault, cleaning dust will not fix it.
Dust and poor airflow can contribute to heat that limits performance. For further cooling and upgrade ideas, see this budget PC upgrade guide.
Reassemble the Case and Check Airflow
Before closing the case, check that no cable blocks a fan or vent. Make sure the fans turn freely and that you have not left a tool or loose screw inside.
Fit the panels securely and return any dry dust filters to their proper places. After reconnecting power, listen for unusual fan noise and check that air can move through the case.
If the computer is a laptop, use its more limited access and ventilation approach instead.
How to Clean a Laptop Internally Without Unnecessary Disassembly
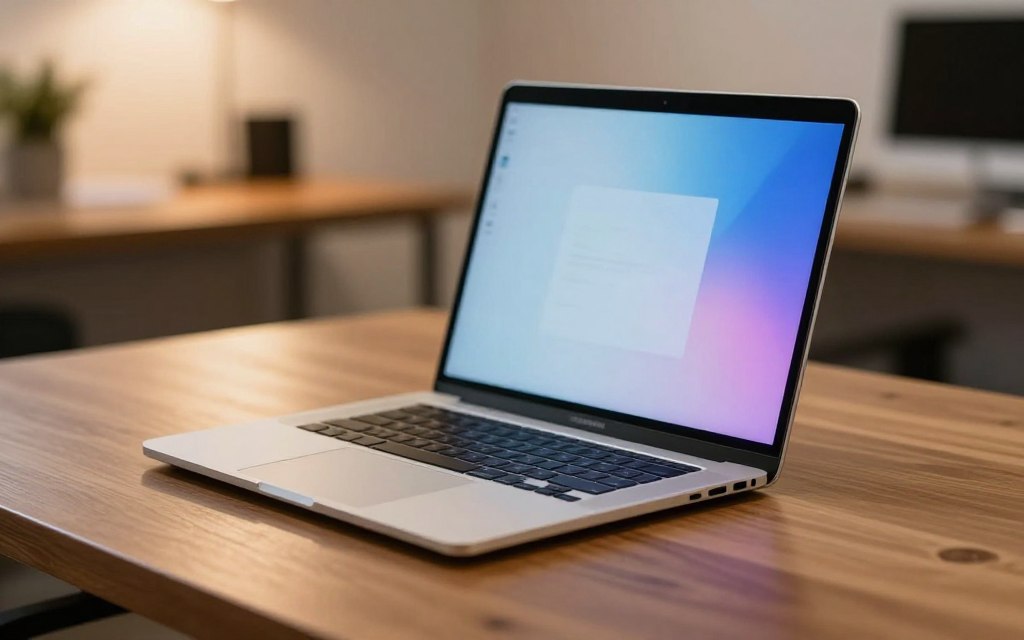
Laptop dust removal usually begins at the vents, not beneath the bottom cover. For routine upkeep, clear vents and clean exterior surfaces without opening the device.
Check the manufacturer’s instructions before considering internal access. Opening a modern laptop can be difficult and may affect warranty coverage.
Clean Laptop Vents and Exterior Surfaces
Shut down and unplug the laptop. Use a clean cloth on its exterior, then direct short, controlled air bursts at accessible vents. Keep the nozzle back and avoid forcing dust deeper into the device.
Do not insert sharp tools or swabs into vents. Check the laptop’s care instructions for any model-specific limits. If dust is packed inside or airflow remains poor, an exterior cleaning may not be enough.
A laptop on a bed, blanket, or cushion can have blocked airflow. Use it on a hard, stable surface so its vents can draw and release air as designed.
Know When Internal Service Is Needed
How to clean your laptop internally depends on its design, and routine at-home cleaning does not require disassembly. Some covers are held by small clips or screws, and opening them can damage parts.
Follow the manufacturer’s service guidance if internal access is needed. If you are unsure how the cover opens, stop rather than force it. A trained repair service can clean inside a sealed or difficult-to-open model.
After the computer itself is addressed, clean the keyboard, mouse, and monitor with methods suited to each surface.
Clean Your Keyboard, Mouse, and Monitor Safely
Crumbs lodged between keys and fingerprints on a screen call for different cleaning methods. Turn off or disconnect each peripheral first, and use light pressure on delicate surfaces.
Keep excess liquid away from keys, ports, and screen edges. A cloth or swab should feel barely damp, never wet.
Remove Debris From a Keyboard
Disconnect the keyboard, then turn it upside down and gently shake out loose crumbs. Direct compressed air between the keys in short bursts, holding the keyboard so debris can fall out.
For sticky residue, use a lightly dampened cotton swab and clean around the affected key. Do not let liquid run under the keycaps. Check the keyboard manual before removing keycaps, since some models are not made for removal.
If the manual allows keycap removal, set each key aside in order. Let the keys dry fully before putting them back. Do not reinstall damp keycaps.
Wipe the Mouse Without Wetting Its Sensor
Disconnect or turn off the mouse. Wipe its shell with a clean microfiber cloth, then remove grime around buttons and seams with a lightly dampened swab.
Turn the mouse over and gently clean around the tracking area. Do not press on or wet the sensor. Let any cleaned area dry before reconnecting the mouse.
Clean a Monitor Without Scratching Its Surface
Turn off the monitor and let it cool before wiping. Dust first with a clean microfiber cloth, using light strokes. This is the safest way to clean dust from a PC monitor during routine care.
For persistent marks, lightly dampen the cloth with water or a display-safe solution. Never spray liquid directly onto the monitor. Check the maker’s care instructions if the screen has a special coating.
Do not use sharp tools, paper towels, or rough fabric on the screen. They can scratch its surface. Keep liquid away from the monitor’s openings and edges.
Once the physical surfaces are clean, check whether digital clutter is also slowing the computer down.
How to Clean Dust From a PC Without Compressed Air
Without a can of compressed air, a clean soft brush can still clear dust from accessible surfaces. An electronics-safe electric air duster can also move loose dust without canned air.
Outside cleaning cannot thoroughly clear dust deep inside a closed case. Do not push dust farther through vents while trying to reach hidden parts.
Use a Soft Brush or Electric Air Duster
Choose a clean, soft brush and loosen dust with short, careful strokes. Brush outward where possible, so debris does not collect farther inside a vent. Do not press hard against fan blades or delicate parts.
An electric air duster made for electronics can move dust from accessible areas. Follow its directions, keep its nozzle back, and use short bursts. A powerful stream can dislodge small parts or push debris into a tighter space.
How to Remove Dust From a PC Without Opening It
To remove dust from a PC without opening it, clean the case exterior, intake filters, and accessible vent surfaces. A brush can lift dust from a grille, but it cannot reach the full inside of a closed case.
Do not use a household vacuum on internal components. It can generate static electricity. If dust remains deep inside, choose a safe internal cleaning method or seek qualified service rather than forcing dust through the vents.
After choosing a safe dust-removal method, establish a routine for hardware upkeep and software cleanup.
How to Clean Your PC Software and Storage
A computer that feels slow may need software housekeeping even after its vents are clean. Digital cleanup can free space or reduce background activity, but it does not replace hardware care.
Review files before deleting them, and keep a backup of personal files you may need. Use built-in operating-system tools for system cleanup.
Cleaning software can help with clutter, but it cannot fix every cause of slow performance. Check files and backups before deleting anything.
How to Clean Your PC of Junk Files
To learn how to clean your PC of junk files, start with the operating system’s built-in cleanup tools. Review temporary files, your downloads folder, and the recycle bin before removing anything.
Some files in these places may still matter. Use the cleanup tool’s labels to see what it plans to remove, then skip files you do not recognize or need.
- Confirm that you no longer need the file.
- Check that an important file has a backup.
- Review the file’s location before deleting it.
- Use the operating system’s cleanup tool for system files.
How to Clean Your PC Storage
To learn how to clean your PC storage, review large files and remove applications you no longer use. Check whether an app stores work or settings you still need before uninstalling it.
Move personal files only after confirming they are backed up. A second copy on an external drive or trusted storage service can protect important photos and documents from accidental deletion.
Storage cleanup is not the same as deleting every large file. Keep files that support your work, and remove only items you understand and no longer need.
How to Clean Your Computer to Run Faster
To clean PC software, review which programs start with the computer and turn off only those you do not need at startup. Install operating-system and application updates, then scan for malware with trusted security software.
To clean your computer to run faster, reduce needless background activity and keep enough free storage for normal tasks. Cleaning may help, but persistent slowness can point to a separate hardware or software problem.
Disk defragmentation applies to hard disk drives (HDDs), not solid-state drives (SSDs). SSDs use different maintenance methods, so do not run a traditional defragmenter on one.
If the computer still freezes, crashes, overheats, or makes unusual noises, cleaning may not address the cause. Use this hardware troubleshooting guide to decide what to check next.
How do you care for computer hardware? Keep vents clear and follow a repeatable cleaning schedule that suits your space and use.
| Task | Typical interval | What to do |
|---|---|---|
| Wipe exterior surfaces | Monthly | Remove visible dust from the case |
| Clean keyboard and mouse | Monthly | Clear debris and wipe touch surfaces |
| Inspect and clean internal dust | Every 3-6 months | Check fans, vents, and accessible parts |
| Review temporary files and unused programs | Weekly or monthly | Check clutter and remove what you do not need |
These intervals are typical, not fixed. Dustier rooms, pets, and heavier use may call for more frequent checks.
Keep the maintenance intervals flexible, then apply the simplest appropriate cleaning step next time dust or digital clutter appears.
Conclusion
A small, consistent cleaning routine is easier to manage than waiting for heavy buildup. Gentle care and regular checks can reduce avoidable dust and support your device’s lifespan and performance.
Routine upkeep does not mean opening every device. Follow the maker’s service guidance for equipment that is not designed for user access, and stop if a panel resists.
Choose a calendar reminder for your next exterior check, then inspect the vents before the computer’s next regular use.
Conclusion
A small, consistent cleaning routine is easier to manage than waiting for heavy buildup. Gentle care and regular checks can reduce avoidable dust and support your device’s lifespan and performance.
Routine upkeep does not mean opening every device. Follow the maker’s service guidance for equipment that is not designed for user access, and stop if a panel resists.
Choose a calendar reminder for your next exterior check, then inspect the vents before the computer’s next regular use.


 By
By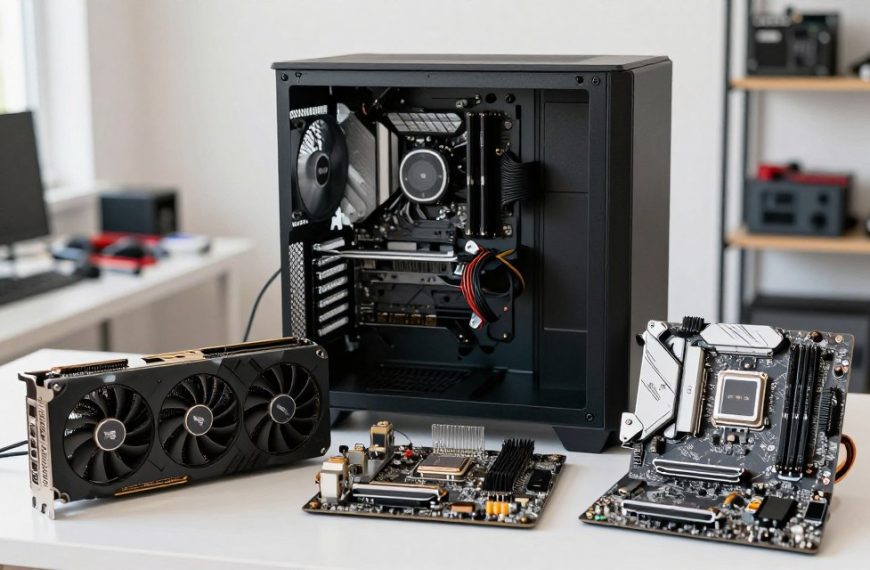

 By
By